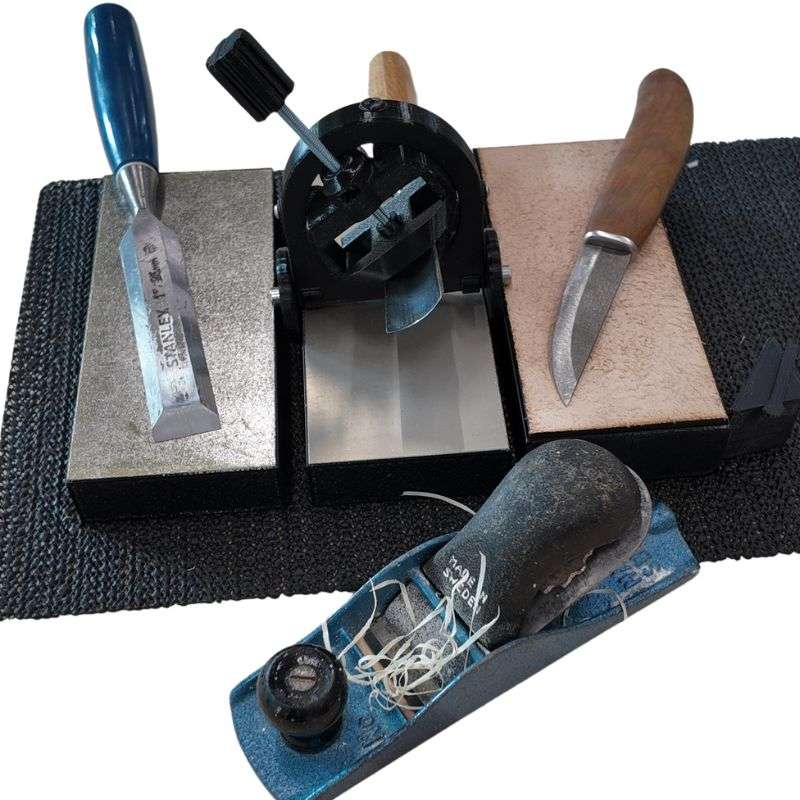
I found an old chisel in the basement that had obviously been used and sharpened many times. It was completely useless because it was not only dull, but also rounded over and difficult to aim precisely at the wood I wanted to remove.

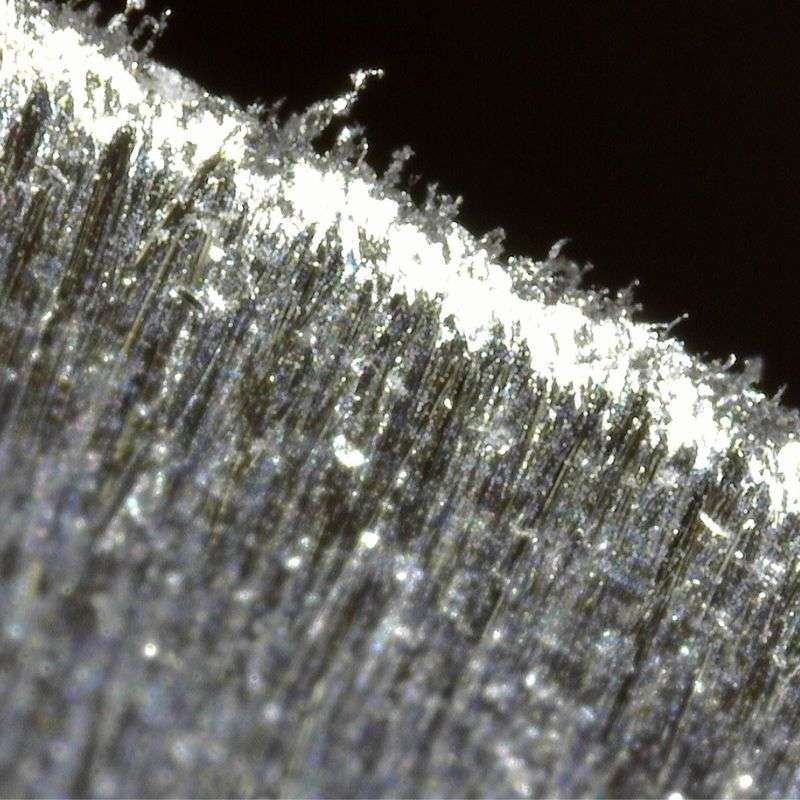
So I got the idea to sharpen it and take microscope images along the way. These were taken at 70x magnification and show the transition from coarse to superfine sharpening and the gradual reduction of the grinding scratches left by the larger diamonds.
The most important lesson for me was to sharpen longer than I think before moving on to a finer grit, since it takes time to work down the peaks of the scratches and reach the bottom where the finer diamonds begin to do their job.
The sharpening times were approximately:
- 150 micron (100 grit) – about 1 hour (a lot of material had to be removed to flatten the surface)
- 60 micron (300 grit) – about 2 minutes (should probably have been ~5 minutes with more flat grinding at this stage)
- 30 micron (600 grit) – about 1 minute (should probably have been ~5 minutes)
- 15 micron (1200 grit) – about 30 seconds (should probably have been ~5 minutes)
So what did I achieve? Below is the edge after progressing from coarse to fine sharpening.

After this, polishing with leather and polishing compound is still needed, but it is already a very good starting point and a genuinely sharp edge.
Below are two videos from the experiment: