I've tried many ways to sharpen knives – but this is the method I use at home, and the one most people learn the fastest.
Knives become dull. Onions get crushed instead of sliced, tomatoes split, and meat becomes harder to cut cleanly. After trying different methods for years, I eventually settled on a solution that works quickly, simply, and consistently in everyday use.
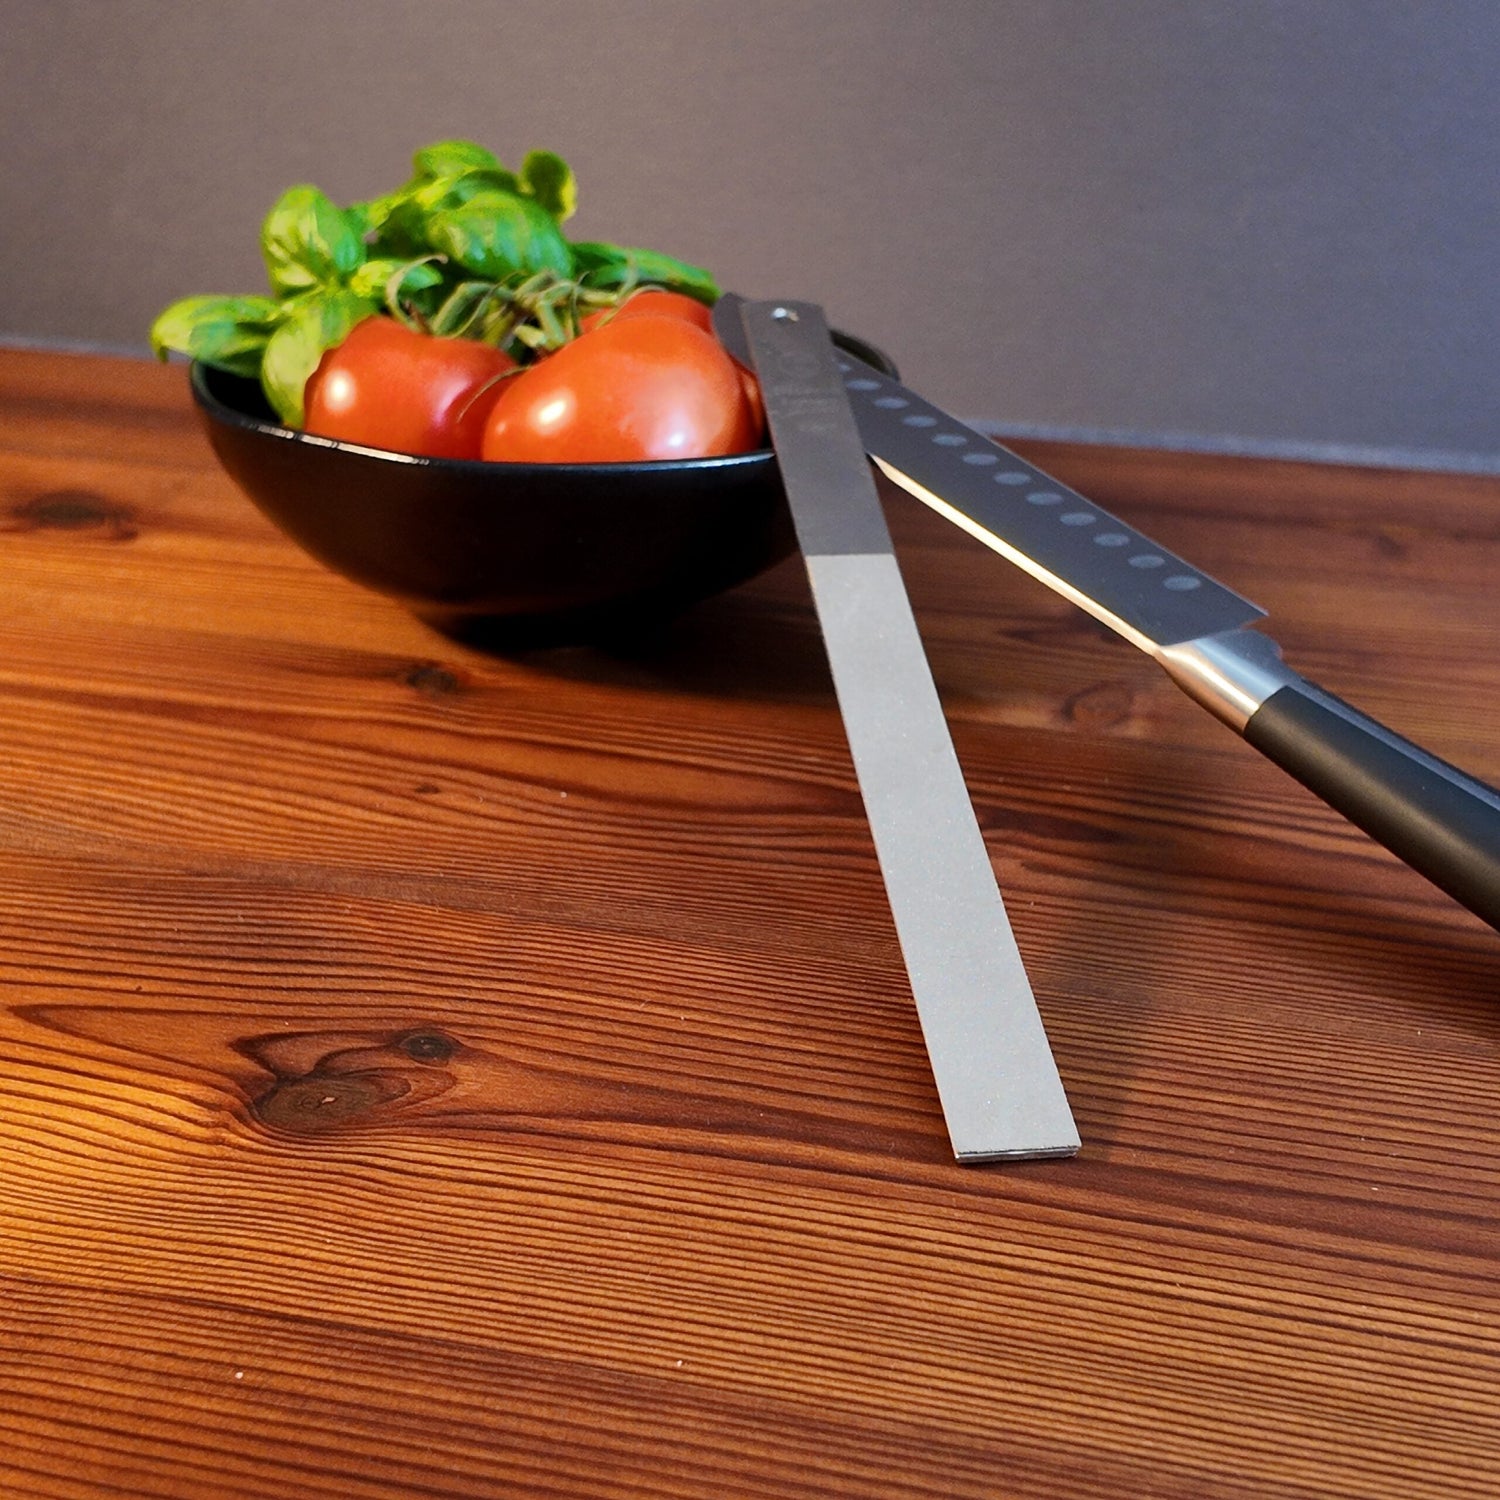
In the video, I use a Dianova Classic diamond sharpener. It is the same diamond sharpener I use for everyday kitchen knife sharpening at home. The flat diamond surface provides excellent control over the edge and makes the method easy to learn, even for someone who has never sharpened a knife before.
Why I Use This Method
There are many ways to sharpen knives. Water stones, sharpening guides, electric sharpeners and advanced freehand sharpening can all work well when used correctly.
After testing different methods for many years, I still keep coming back to this approach for everyday use. The reason is simple: it is fast, easy to learn, and delivers consistent results.
Most people already know how to use a file. Because of that, a flat diamond sharpener feels less intimidating than many other sharpening systems. I've also taught many people to sharpen their knives this way, and most achieve good results the very first time.
The goal is not to win sharpening competitions. The goal is to get a sharp kitchen knife in just a few minutes when it starts to feel dull.
How I Do It at Home
1. Find the Existing Angle
Place the knife against the diamond sharpener and raise the spine until the edge makes full contact. There is no need to measure the angle exactly – the goal is simply to follow the angle that already exists on the knife.
2. Use Light Pressure
Move the edge across the sharpener using light, controlled pressure. The diamonds do the work. Applying more force rarely produces better results.
3. Sharpen the Entire Edge
Work from heel to tip so the entire edge receives the same treatment. Try to maintain a consistent angle throughout the stroke.
4. Raise a Burr
Continue until you can feel a small burr along the opposite side of the edge. This is a sign that you have reached the very apex of the edge.
5. Switch Sides
Repeat the process on the other side until the burr moves across.
6. Finish with Light Alternating Strokes
Finish with a few light alternating strokes to reduce the burr and refine the edge.
7. Straighten the Edge
When sharpening is complete, I usually draw the knife a few times along the rounded edges of the handle. It works much like a honing steel and helps straighten the outermost part of the edge.
- Pull the edge backward toward the handle, never forward
- 2–5 light strokes per side is usually enough
- Use minimal pressure
8. Test the Knife
A properly sharpened kitchen knife should slice through tomatoes, onions, and other ingredients cleanly without crushing them.
The Result
With a flat diamond sharpener, it is quick and easy to restore the edge on ordinary kitchen knives. The method requires neither advanced equipment nor extensive practice, making it well suited for everyday sharpening at home.
There are many ways to achieve a sharp knife. This is the method I use most often because it is simple, fast, and easy to repeat with consistent results.