This guide shows how to sharpen a Japanese-style pruning saw. Unlike European saws, it cuts on the pull stroke (when you pull it toward you). These saws are very effective because the blades are thin and cut cleanly. The saw in the video is the one I always carry in my hunting backpack.
The process in short
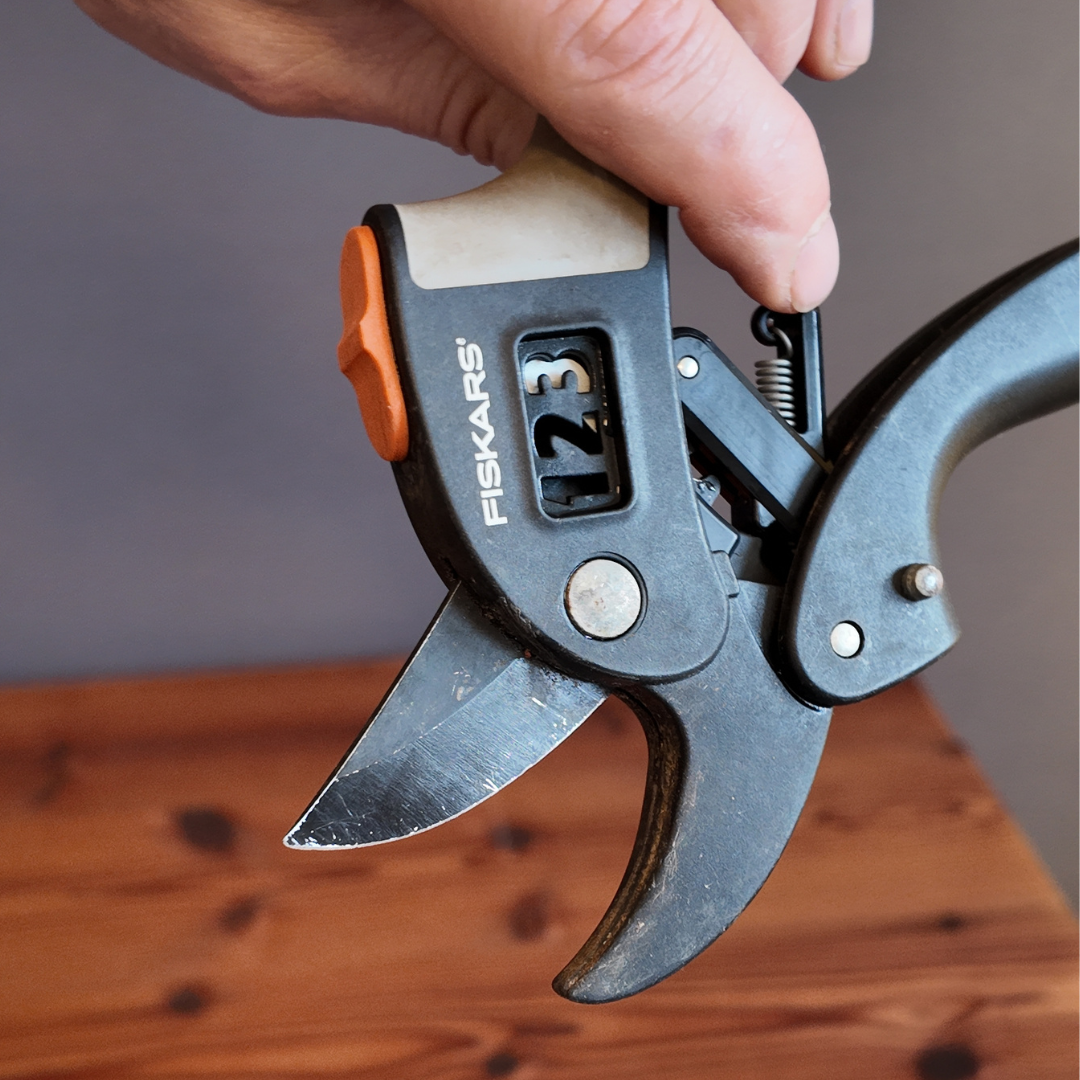
- Make sure you have the right type of saw:
- The teeth should point backward toward the handle
- The spine should be slightly thinner than the area near the teeth
- The teeth follow the blade and do not point outward (see images below)
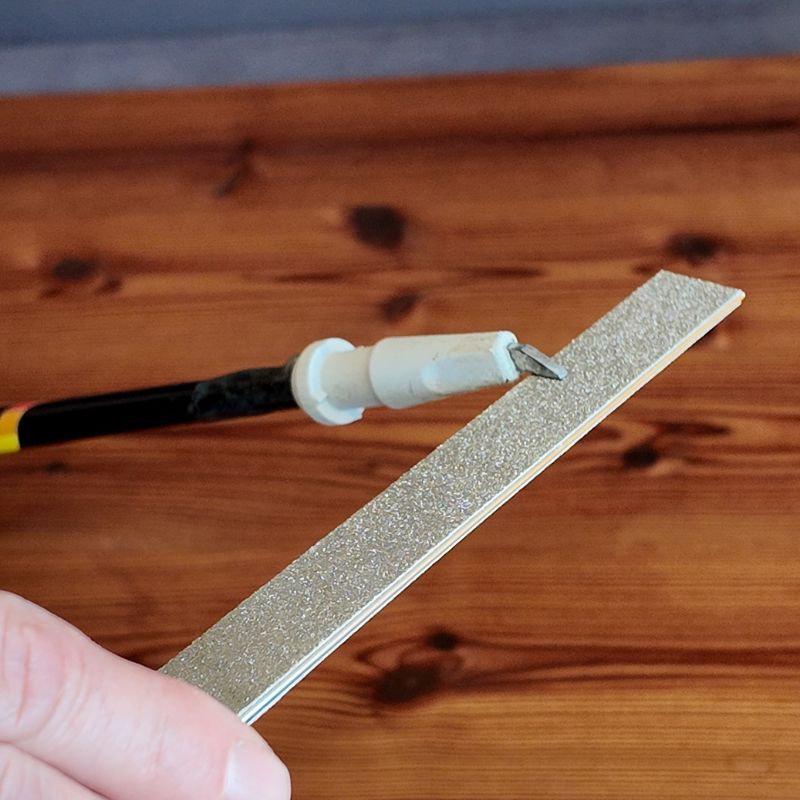
- Mark the teeth with a marker and place the sharpener flat against the side
- Start with the coarse side and use circular motions along the entire blade on both sides
- Repeat until the marker is gone and the teeth feel sharp again 👍

Image 1: Correct saw type

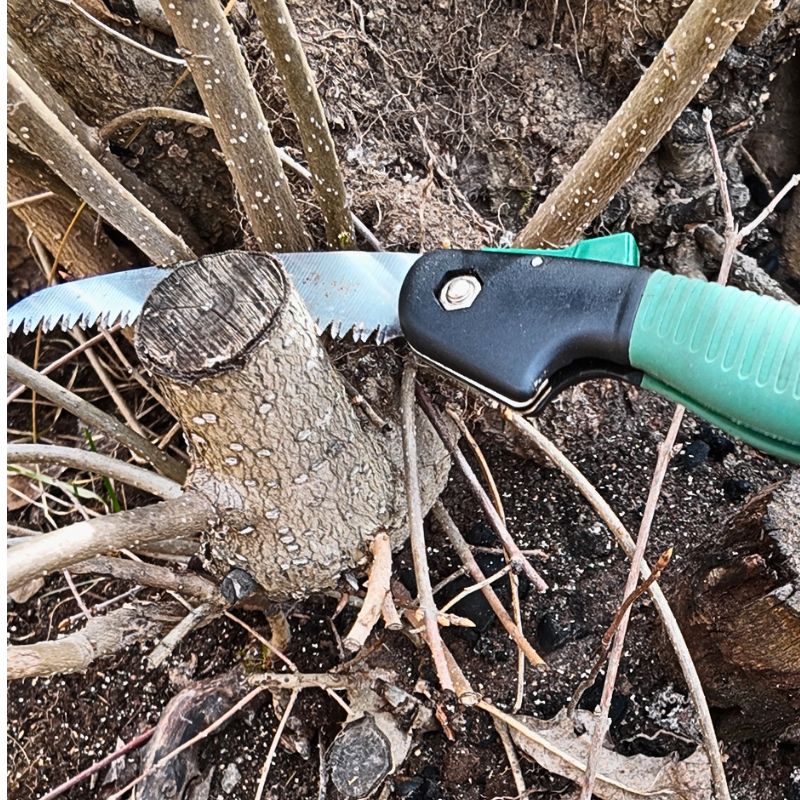
Image 2: Do not sharpen this type using this method
Bonus tip:
If the blade is rusty or has a dark protective coating, finish by applying a thin layer of food-safe oil using a piece of paper. This helps prevent rust and improves cutting performance. Rust creates friction and can make the saw feel dull even when it isn’t.
Why a diamond sharpener?
Many Japanese pruning saws have impulse-hardened teeth. This means they stay sharp for a very long time – but also that the steel is too hard for traditional files or stones. They simply slide over the surface. A diamond sharpener is one of the few tools that actually cuts hardened steel.
I strongly recommend using a larger diamond sharpener (like our Önne 300/600). It not only covers the blade faster, but is also safer – your fingers stay further away from the sharp teeth during the process.
Good luck sharpening – a sharp saw does half the work in the field! 🪚💎